")
")
New coils and dampers?
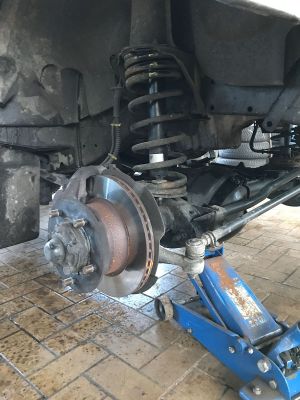
Our old coils were getting on in years and, in their rusty existence, would not have survived the journey without a breakdown. On our first trip, we also noticed that the driving characteristics with the old coils are more like a ship at sea. This phenomenon is favored by loading the roof with the roof tent, equipment boxes and water.
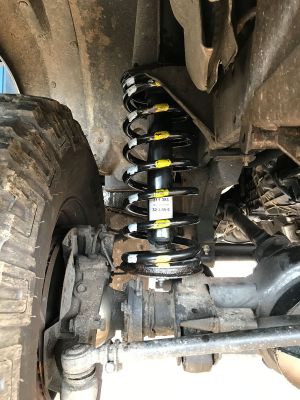
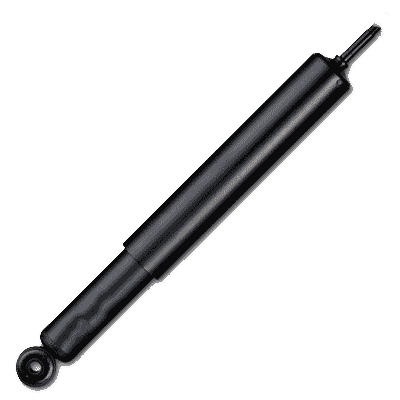
Due to our high travel weight, we got new HD coils for both axles for the front (NRC9448 and NRC 9449), for the rear (NRC6904 and NRC6389) as well as new shock absorbers from Boge (OEM quality).
|
|
INSTALLATION
Here is the step by step guide to replace the front springs and dampers.
- Open the bonnet and unscrew the two plastic covers on the shock absorbers
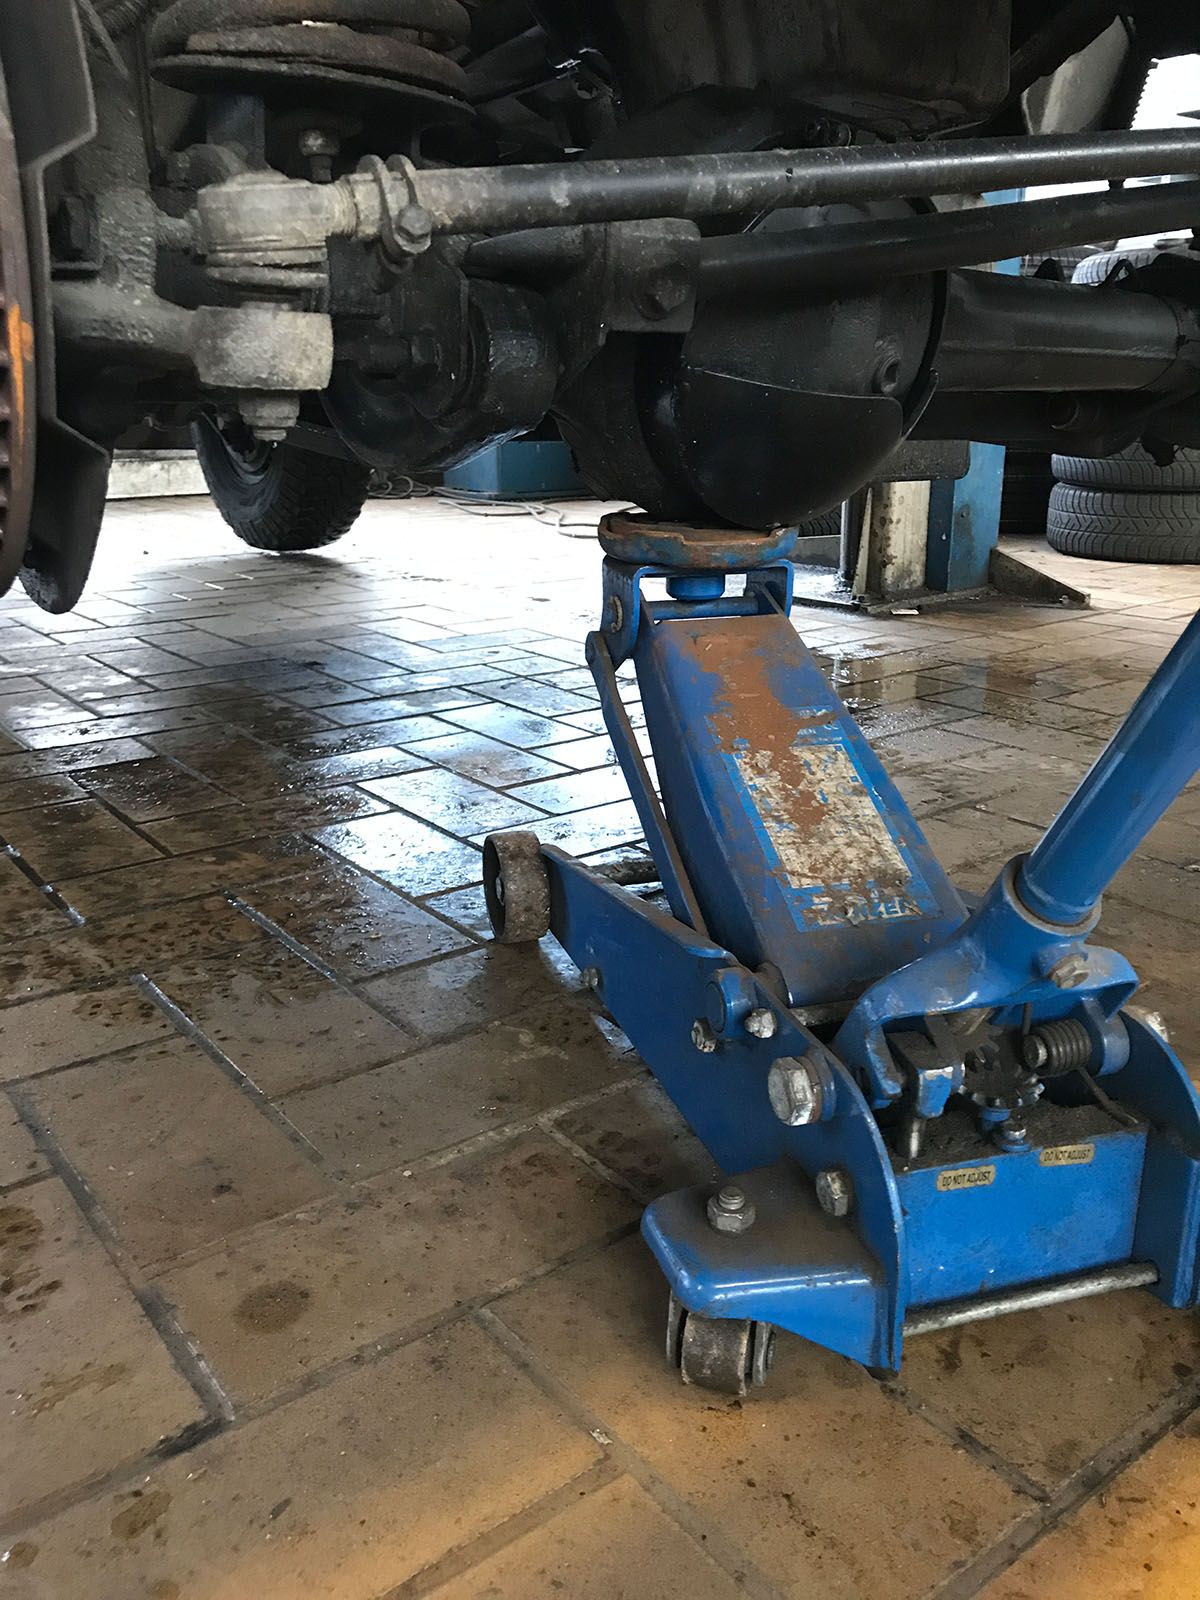
- Dismantle the wheels and lift the vehicle out of its springs, either using a lifting platform or a jack
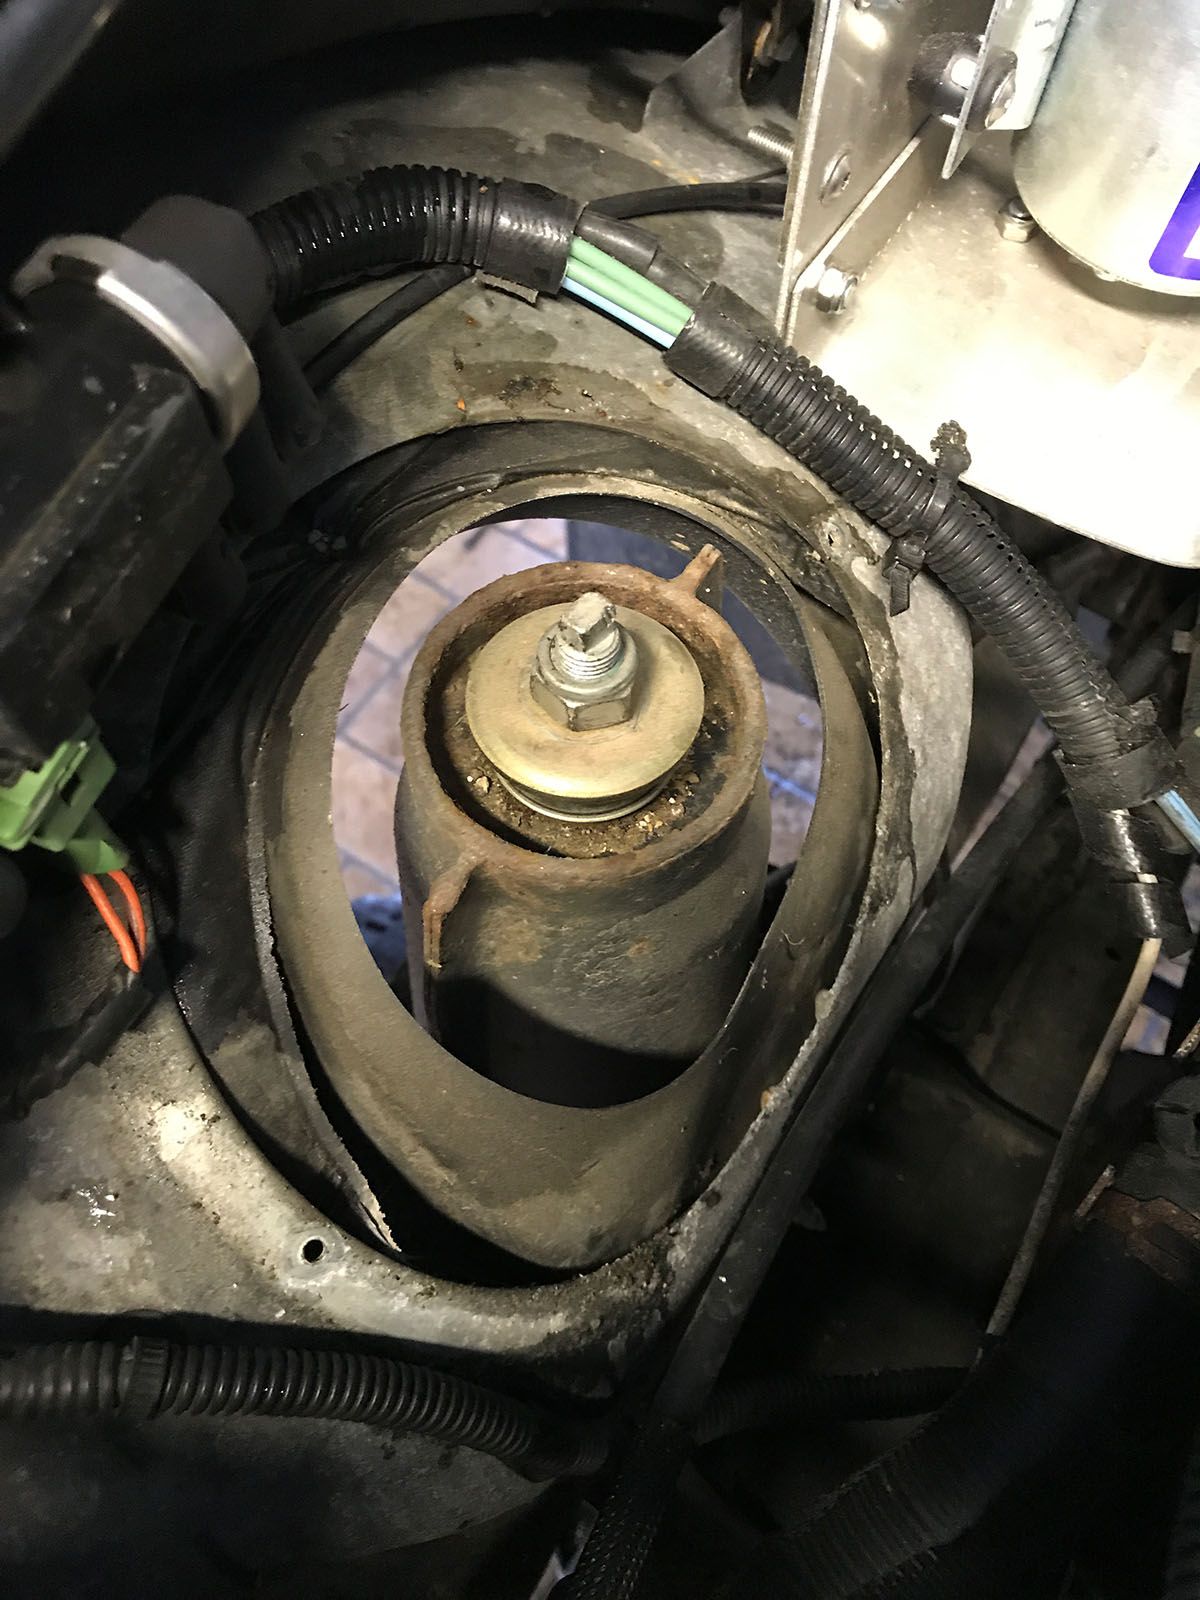
- Loosen the screws of the cathedral in the engine compartment with the impact wrench, but not completely, the damper should still hang on the nut
- Option 1: replace the shock absorber -> loosen the screw on the dome completely
- Option 2: only replace the spring, let the damper hang on the dome as described above
- Now raise the axle a little with the help of a second jack to relieve the shock
- Open the screw at the lower end of the damper and secure the damper against twisting with an oil filter band
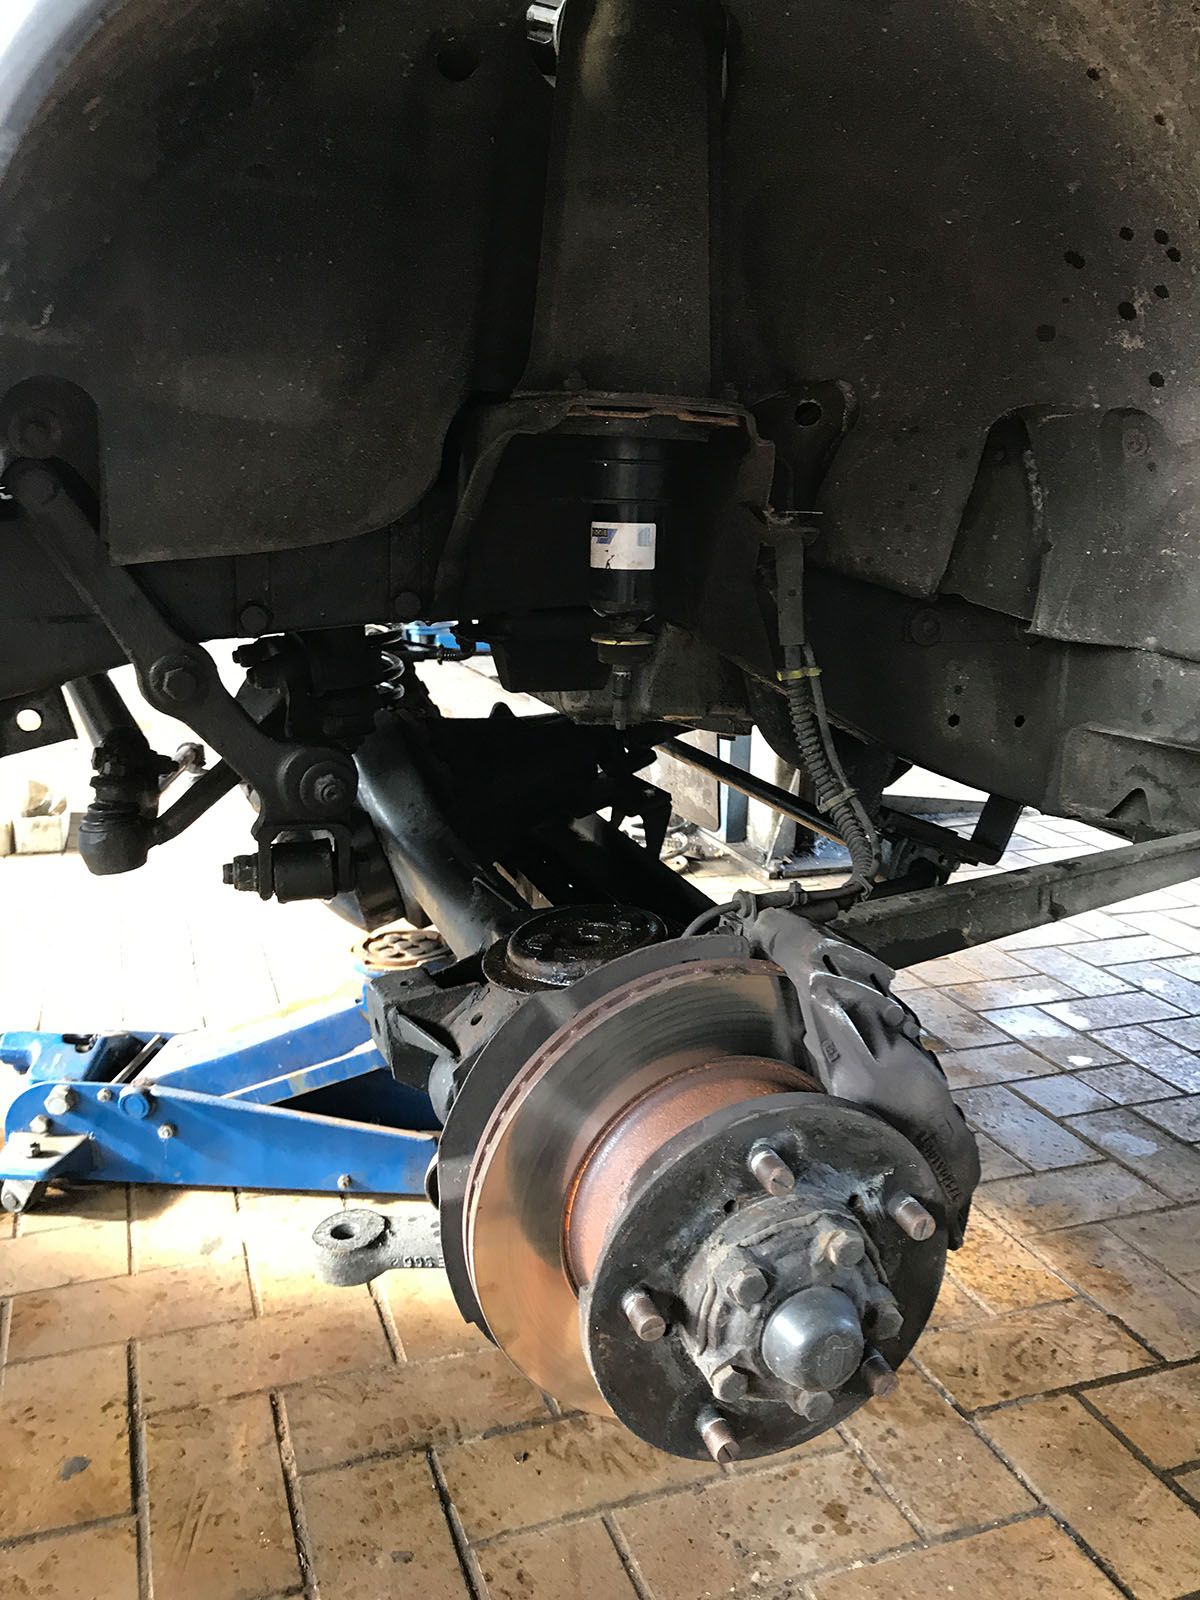
if the damper is loose, fully compress the damper by hand until it stops (see picture 4) - Lower the axle completely again, taking care not to overstretch or tear off the ABS cables and brake lines
now you have enough space to remove the spring, a tire iron or other flat iron helps to slide it over the spring plate - If necessary, install the new damper and loosely attach it to the upper dome
- Compress the damper completely again
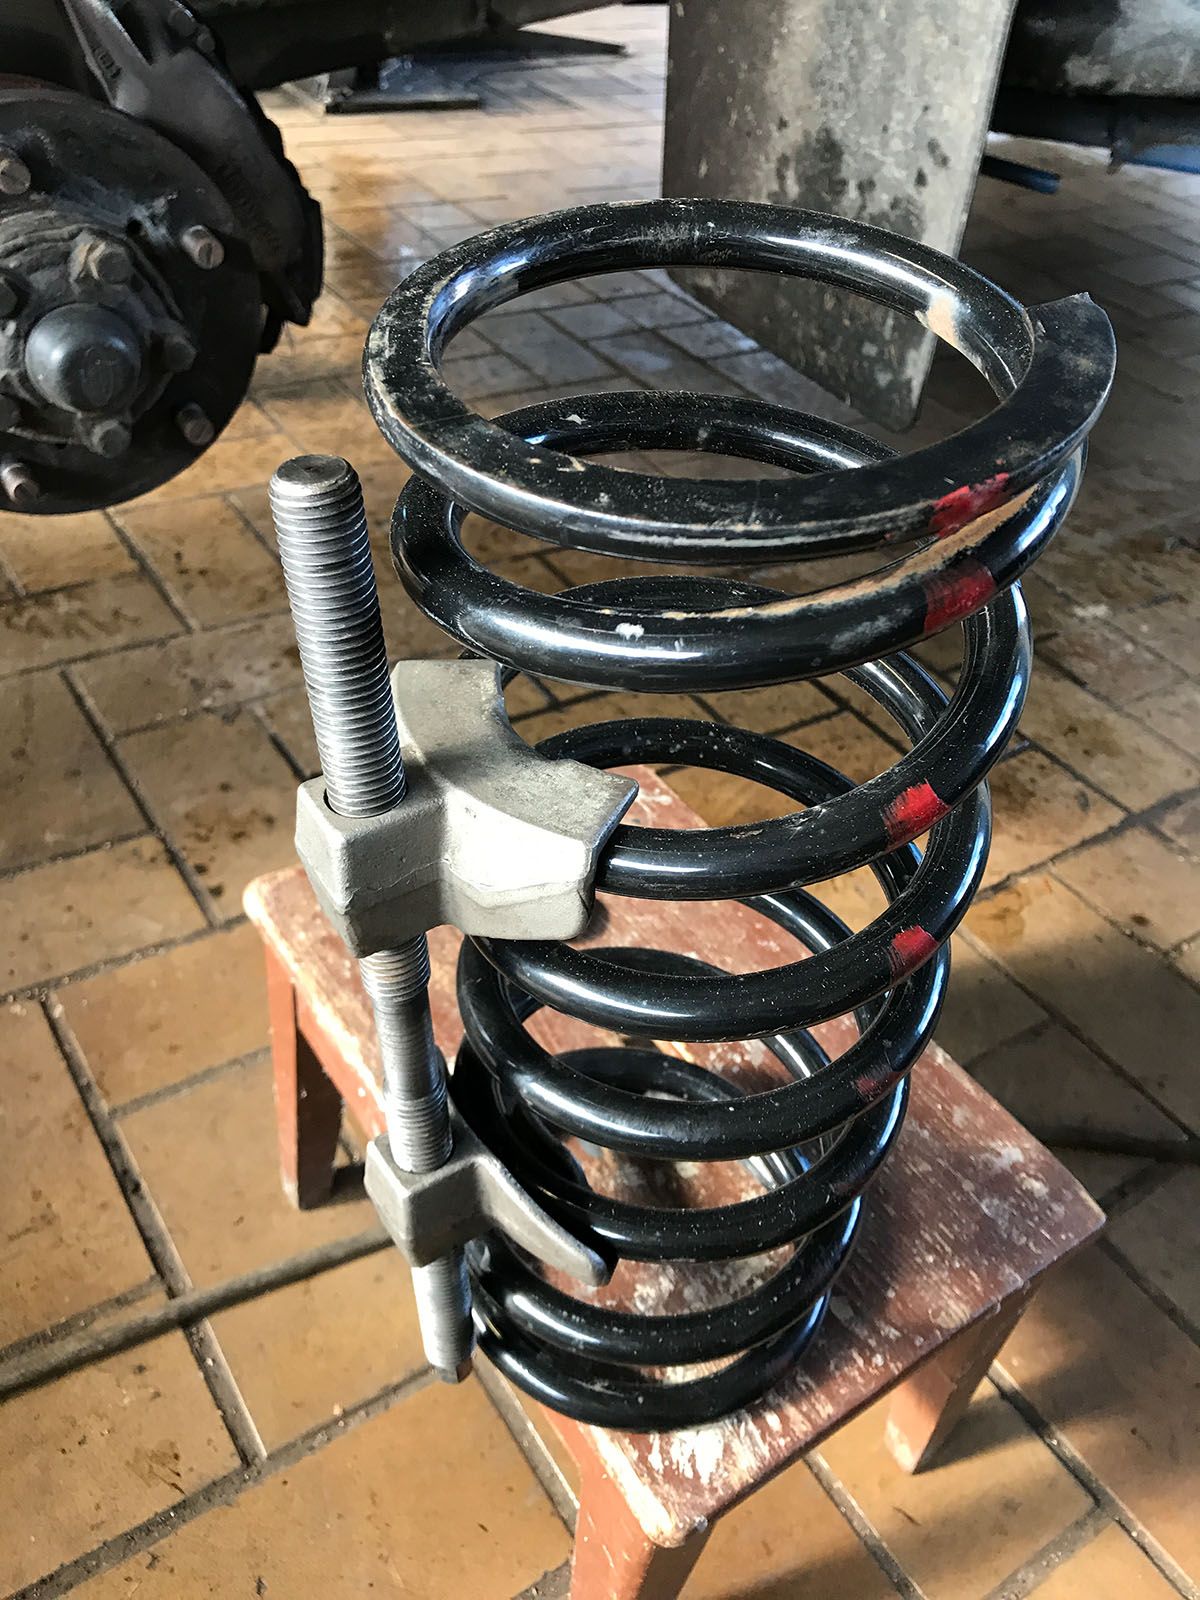
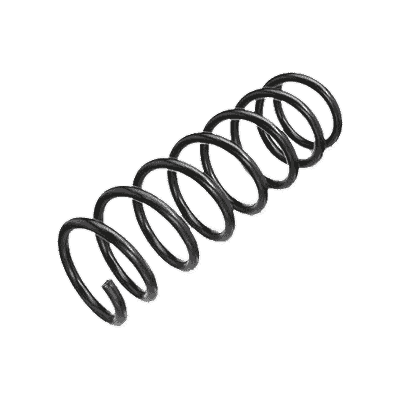
- Compress new springs with a spring tensioner
- Insert springs and make sure that they are fully seated in the upper and lower spring plates -> a rubber hammer helps!
- Reassemble everything in reverse order
And you've already installed the springs and the new dampers. Was really a breeze!